Free Worldwide Shipping on Orders Over $150
Tagine Cooking for Beginners: 10 Tips to Get It Right the First Time

So you’ve just brought home your first tagine. Maybe you spotted one in a kitchen shop and fell in love with that iconic conical shape. Maybe a friend’s unforgettable Moroccan dinner inspired you. Or maybe you’re simply ready to explore a style of cooking that’s been transforming humble ingredients into extraordinary meals for centuries.
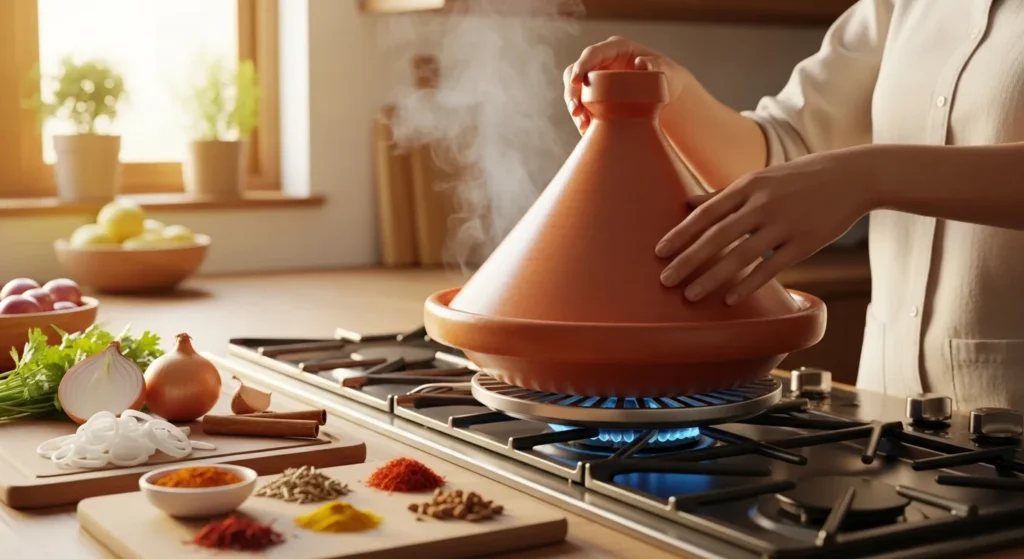
Whatever brought you here, welcome. Tagine cooking for beginners can feel intimidating at first—there’s seasoning, heat management, and an entirely different approach to building a dish. But here’s the encouraging truth: tagine cooking is actually one of the most forgiving methods once you understand a few fundamentals.
This guide gives you ten practical, no-nonsense tips to help you nail your first time using a tagine. Follow these, and your very first meal will taste like you’ve been doing this for years.
Tip 1: Understand What Your Tagine Actually Does
Before you turn on the stove, take a moment to understand why this conical cooking vessel works the way it does.
A tagine has two parts: a wide, shallow base where the cooking happens, and a tall conical lid that serves as a built-in flavor engine. As food simmers, steam rises into the cool upper cone, condenses into moisture, and drips back down—continuously basting your dish from above.
This self-basting cycle means you need very little added liquid. The food cooks in its own concentrated juices, which is why tagine dishes are known for their extraordinarily deep, layered flavors.
Understanding this principle changes everything about how to cook in a clay tagine pot. You’re not making a stew with lots of broth. You’re creating a slow, aromatic braise where every drop of flavor stays in the dish.
Tip 2: Season Your Tagine Before the First Cook
This is the step most beginners skip—and the one they regret skipping.
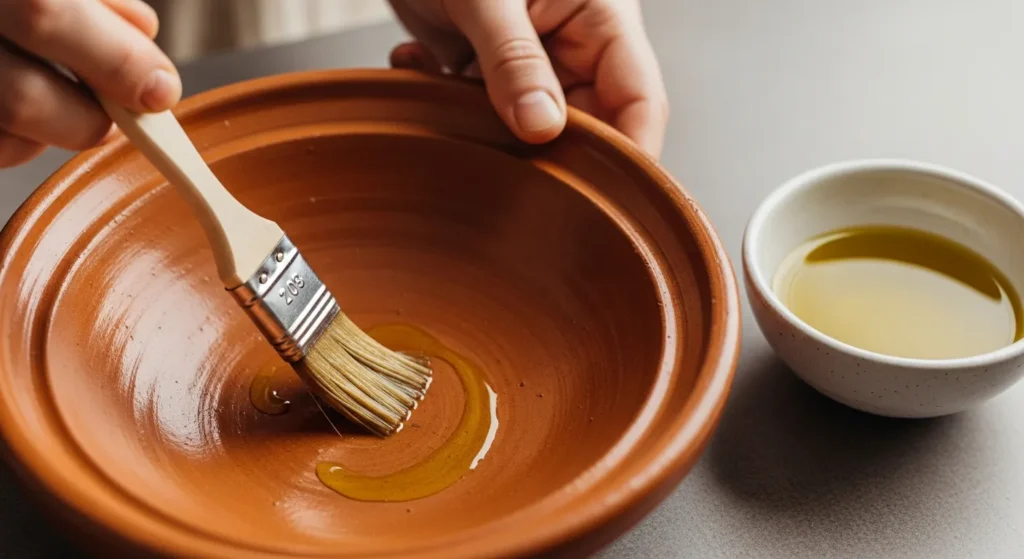
New clay cooking tagines are porous and need to be strengthened before they can handle direct heat. Seasoning fills the clay’s pores with protective oil, prevents cracking, and prepares the surface for years of cooking.
The basic process:
- Soak the base and lid in water for several hours (or overnight)
- Dry completely
- Rub the interior with olive oil
- Place in a cold oven, heat gradually to 225°F (110°C), and bake for 2 hours
- Cool naturally in the oven—never remove a hot tagine into cool air
Our complete seasoning guide walks you through every detail. It takes a few hours, but you only need to do it once. Think of it as the initiation ritual for your tagine’s lifetime of service.
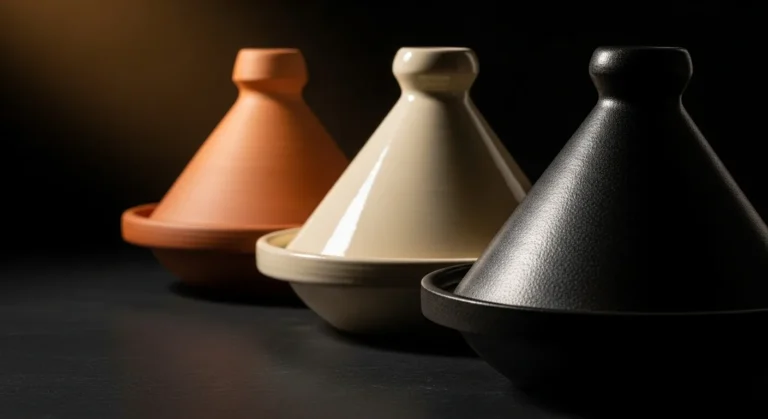
Glazed tagines don’t require seasoning. If you’re cooking with a glazed model like the Contemporary Moroccan Cooking Tagine for Two, you can skip this step and go straight to cooking.
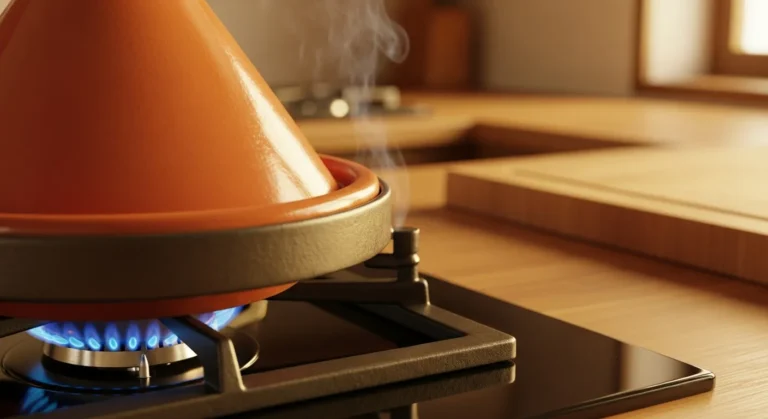
Tip 3: Always Use a Heat Diffuser on the Stovetop
This is the single most important tagine cooking tip for preventing disaster.
A heat diffuser is a flat metal plate that sits between your burner and the tagine base. It distributes concentrated flame heat into gentle, even warmth across the entire bottom of the clay.
Why it matters:
- Gas burners produce a focused ring of flame that creates hot spots—perfect for cracking clay
- Electric coils concentrate heat in a small area
- A diffuser transforms aggressive, uneven heat into the soft warmth a tagine was designed for
You need a diffuser on gas and electric stovetops. On ceramic or glass cooktops, it’s recommended but not always essential. For the full breakdown on when you need one and when you can skip it, read our heat diffuser guide.
Pro tip: If you’re using the oven instead of the stovetop, no diffuser is needed. The oven provides perfectly even, ambient heat—it’s actually the most beginner-friendly way to cook with a tagine. See our complete tagine usage guide for the oven method and step-by-step stovetop instructions.
Tip 4: Start Cold and Heat Gradually—Always
If there’s one rule that governs how to use a tagine, it’s this: never subject clay to sudden temperature changes.
Thermal shock—placing a cold tagine on a hot burner, or a hot tagine on a cold surface—is the number one cause of cracks. The fix is simple: patience.
- Place your tagine on a cold burner with a heat diffuser
- Turn the heat to low and let it warm up over 10–15 minutes
- Never exceed medium heat—tagine cooking is designed for low and slow
- When finished, let your tagine cool naturally on the stove. Don’t move it to a cold countertop
This gradual approach isn’t just about protecting the clay. It’s the essence of tagine cooking philosophy. In Moroccan kitchens, time is treated as an ingredient—and rushing it never produces better results.
If you want to understand cracking in depth, our tagine crack prevention guide explains every cause and solution.
Tip 5: Master the Art of Layering Ingredients
Tagine cooking isn’t like a one-pot stew where everything goes in at once. Layering is what creates the signature complexity of Moroccan dishes—each ingredient contributing its flavor in sequence.
Here’s the classic layering order:
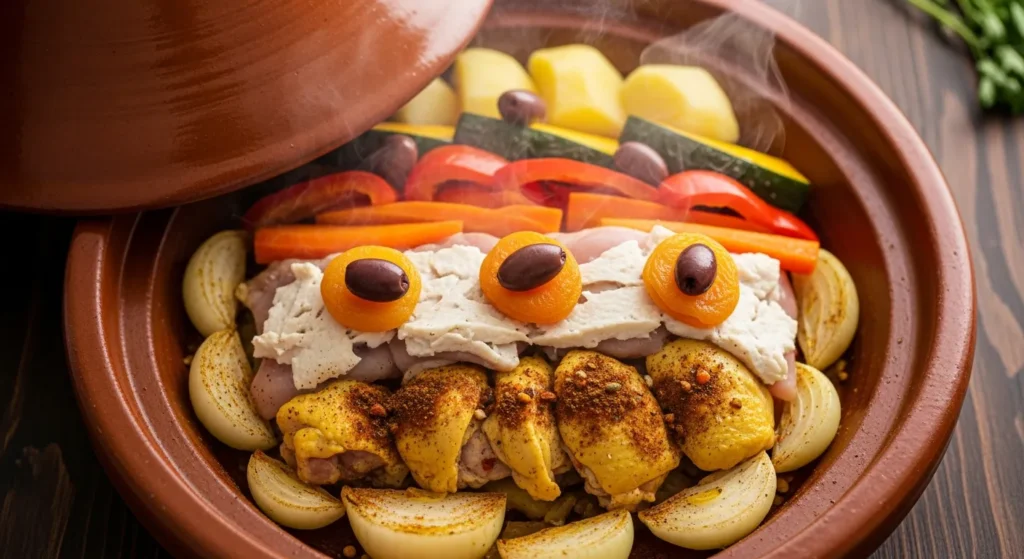
- Oil and aromatics first: A thin layer of olive oil, then sliced onions, minced garlic, and your spice blend on the bottom
- Protein next: Place your meat, chicken, or fish on top of the aromatic bed—this allows it to braise slowly in rising steam
- Vegetables on top: Root vegetables, potatoes, carrots, or zucchini go above the protein where they’ll steam-cook gently
- Fruits and garnishes last: Dried apricots, prunes, olives, or preserved lemons are added in the final stage so they warm through without disintegrating
- A small amount of liquid: Just enough broth, water, or tomato sauce to start the steaming process (typically ½ to 1 cup)
Why the order matters: Ingredients at the bottom get more direct heat and braise in liquid. Ingredients at the top cook in rising steam and retain their shape. The conical lid returns moisture to all layers equally from above.
Tip 6: Use Less Liquid Than You Think
This is the tagine mistake that catches nearly every beginner. Coming from conventional cooking, your instinct is to add plenty of broth or water so nothing burns or dries out.
Resist that instinct.
The tagine’s condensation cycle continuously returns moisture. The onions, tomatoes, and vegetables also release substantial liquid as they cook. Between the self-basting lid and the natural juices of your ingredients, you typically need only ½ to 1 cup of added liquid for a full tagine.
Too much liquid and you’ll end up with a thin, soup-like dish instead of the thick, concentrated, flavor-packed sauce that defines great tagine cooking.
A good rule: Start with less than you think you need. You can always add a splash more liquid by lifting the lid briefly. But you can’t remove excess liquid from a tagine without losing flavor concentration.
Tip 7: Pick the Right Spices and Keep It Simple
Moroccan spice blends are central to tagine cooking, but beginners sometimes overcomplicate things. Start with a core set and build from there.
The essential tagine spice foundation:
- Cumin — warm, earthy base note
- Turmeric — color and mild warmth
- Ginger (ground) — brightness and depth
- Cinnamon — subtle sweetness that balances savory
- Paprika — smoky richness
- Black pepper — gentle heat
These six spices will carry you through most tagine recipes. As you gain confidence, explore saffron, coriander, and Ras el Hanout (a complex Moroccan blend that translates to “head of the shop”).
For a deep dive into the spice combinations that define Moroccan cooking, our tagine spice guide covers everything from sourcing to measuring.
One critical technique: Toast your ground spices in the olive oil with the onions at the start of cooking—before adding the protein. This blooms the spices, releasing their essential oils and building a flavor base that permeates the entire dish.
Tip 8: Don’t Lift the Lid
This is the hardest habit for beginners to build. The temptation to check on your food is strong—but every time you lift the lid, you break the condensation cycle and release precious steam and heat.
The tagine is designed to cook without intervention. Trust the process.
- Set your heat to low, place the lid, and walk away for at least 45 minutes to an hour before your first check
- If checking is necessary, lift the lid briefly, then replace it immediately
- Total cook time for most tagine dishes is 1.5 to 3 hours—patience truly is the defining ingredient
The aroma that builds inside that sealed conical lid is part of the magic. When you finally lift it at the table and that concentrated fragrance rushes out, it’s an experience that justifies every minute of waiting.
Tip 9: Choose the Right Size Tagine for Your Household
Cooking in a tagine that’s too small or too large for your portion size affects results. An overcrowded tagine won’t cook evenly. A near-empty one may dry out.
Quick sizing guide:
| Size | Diameter | Serves | Best For |
|---|---|---|---|
| Small | 9–10″ (23–25cm) | 1–2 people | Solo cooking, couples |
| Medium | 11–12″ (28–30cm) | 2–4 people | Small families, everyday meals |
| Large | 13–14″ (33–35cm) | 4–6 people | Family dinners, entertaining |
| Extra Large | 15″+ (38cm+) | 6+ people | Gatherings, celebrations |
For beginners: A medium tagine is the sweet spot. It’s versatile enough for weeknight dinners and weekend entertaining without being unwieldy. The Traditional Moroccan Clay Tagine comes in both 28cm and 30cm options—ideal for starting out.
For a detailed breakdown of sizes and how to match them to your kitchen, our tagine cooking vessel guide covers dimensions, stovetop compatibility, and oven clearance.
Tip 10: Start With a Forgiving, Beginner-Friendly Recipe
Your first tagine dish should be something simple, satisfying, and hard to get wrong. Avoid complex recipes with long ingredient lists or precise timing. Instead, choose dishes with generous cook times and ingredients that improve the longer they simmer.
Best beginner tagine recipes:
- Chicken tagine with vegetables — the most forgiving protein with familiar vegetables. Perfect first cook.
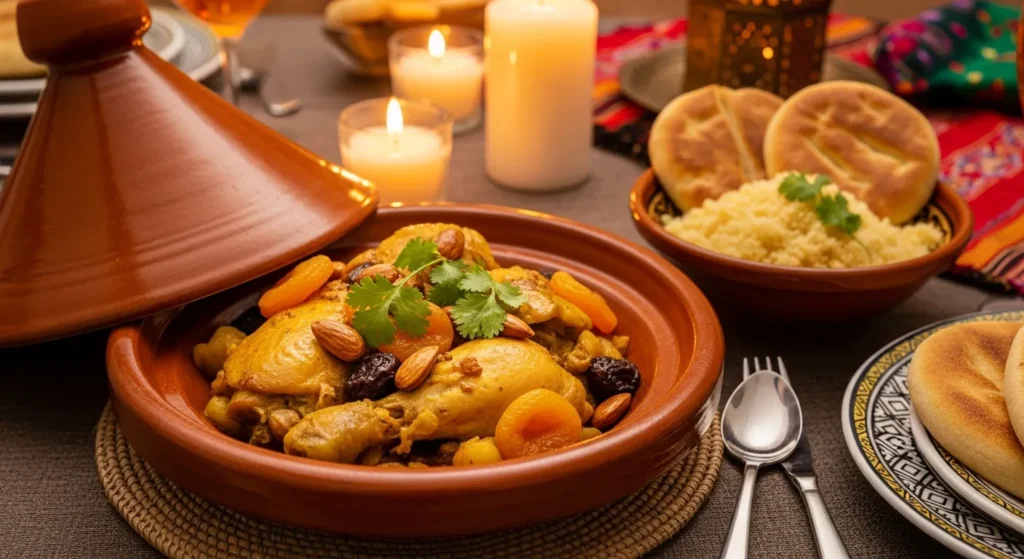
- Chicken tagine with apricots and almonds — introduces the classic sweet-and-savory profile of Moroccan cuisine
- Beef tagine with prunes and apricots — a rich, deeply flavored dish that’s nearly impossible to overcook
- Fish tagine with preserved lemons — a lighter option that cooks faster (45–60 minutes)
Each of these is forgiving: the slow-cooking method means there’s a wide window between “done” and “overdone,” giving beginners confidence without pressure.
For more recipe inspiration, explore our full recipe collection for ideas organized by protein and flavor profile.
Bonus: The 5 Most Common Tagine Mistakes to Avoid
Now that you know what to do, here’s what not to do. These are the mistakes that trip up nearly every beginner:
✘ Mistake 1: Skipping the Seasoning
Cooking in an unseasoned clay tagine risks cracking and can produce food with an unpleasant raw-clay taste. Always season first.
✘ Mistake 2: Using High Heat
High heat and clay are enemies. The tagine was never designed for aggressive temperatures. Keep it low—always. If you think your heat setting is low enough, turn it down one more notch.
✘ Mistake 3: Adding Too Much Liquid
Remember: the tagine recycles its own moisture. Start with ½ to 1 cup of liquid maximum. The onions, tomatoes, and vegetables will contribute the rest.
✘ Mistake 4: Placing a Cold Tagine on a Hot Burner
Thermal shock is the fastest way to crack a tagine. Always start on a cold burner with a diffuser and heat gradually.
✘ Mistake 5: Washing With Soap (Unglazed Clay)
Unglazed clay is porous and will absorb soap, transferring that taste to your next meal. Hand wash with warm water and a soft sponge only. Our tagine care guide covers the right way to clean, dry, and store your tagine.
Your First Tagine Meal Is Closer Than You Think
Here’s what makes tagine cooking so rewarding for beginners: the technique is simple, the vessel does most of the work, and the results are disproportionately impressive. A few quality ingredients, the right spices, low heat, and patience—that’s genuinely all it takes.
Your tagine will improve with every use. The clay absorbs oils and spices over time, building a flavor patina that seasons each successive dish. The meals you cook six months from now will taste noticeably richer than your first—and your first will already be excellent.
Ready to start? Explore our collection of handcrafted Moroccan cooking tagines to find the right vessel, or browse our learning center for more guides that will build your confidence one meal at a time.
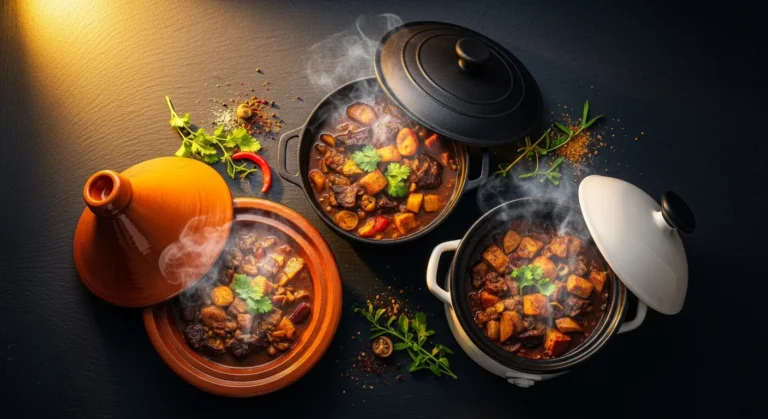
If you’re still deciding between a tagine and other cookware, our tagine vs Dutch oven comparison breaks down exactly when and why a tagine is the right choice.